First Light A Stained Glass Nativity
The annual Christmas Crèche Exhibit in Palo Alto is my favorite part of Christmas in the Bay Area. It was an immediate solace to me when I first moved here to make Christmas feel like Christmas in a strange new place without snow. I got to know the people who facilitate it, and have been involved the last two years building their website.
Planning
As fulfilling as it is to build the website, I felt compelled from the beginning to contribute works of art to the gallery as well. So when my new Glowforge laser cutter shipped, I knew just what I wanted my first project to be. I tried to direct my dreaming toward things that play to a laser cutter's strengths like computer-precise material shaping. And I’m also strangely compelled by the notion of self-illuminated art. So I started blocking out a lot of silhouettes with a fat marker.
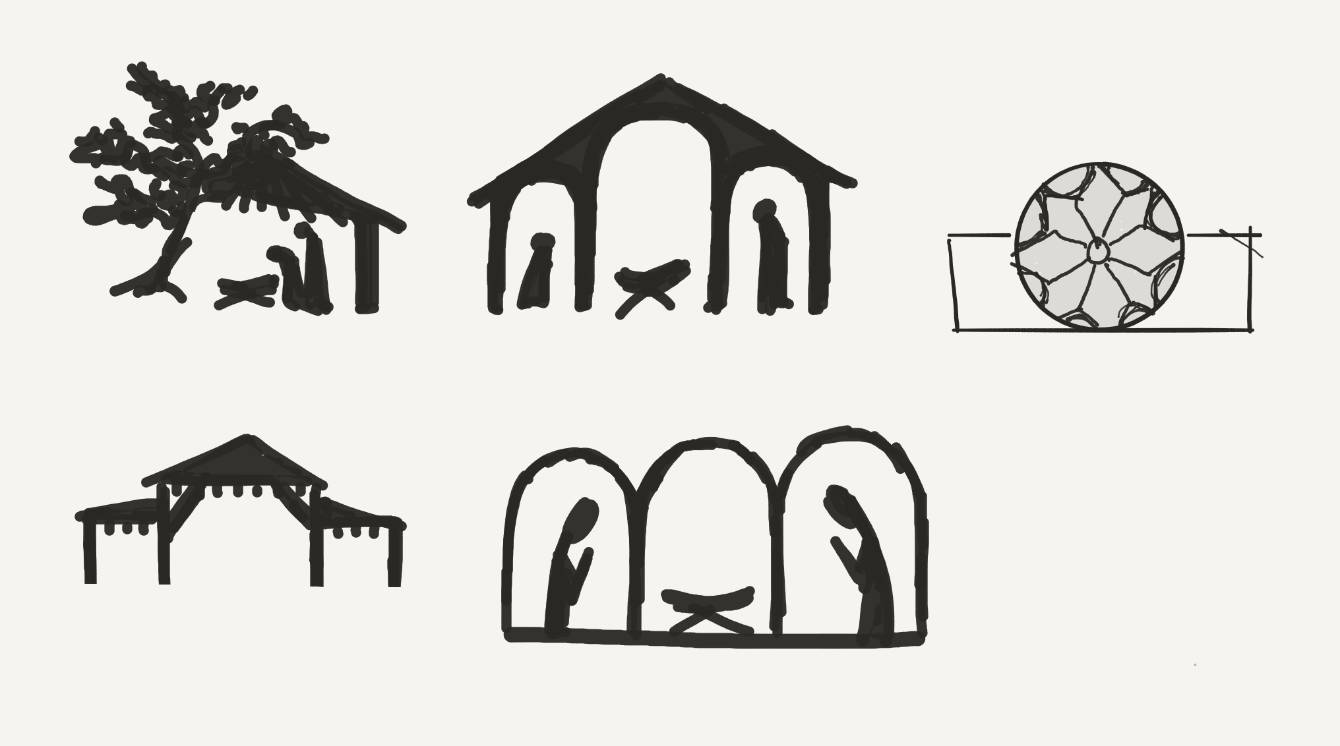
As a mixed-media piece, it seemed appropriate to imbue those media choices with meaning. Early on, I decided to represent the earthly, mortal part of the story with wood, and the celestial, miraculous parts of the story with light.
I didn’t get far into my sketches before they became more stained-glass-like. I’d always wanted to experiment with stained glass anyway, and it is a natural fit for self-lit art, so I dove head first into gothic rose window research.
Meanwhile, I’d promised a sketch to the exhibit and the deadline was looming. A busy spell at work meant I didn't have any time to sketch further, but my mind kept gnawing through it in the background and with just a few minutes to spare, I scribbled this out and sent it away in an email:
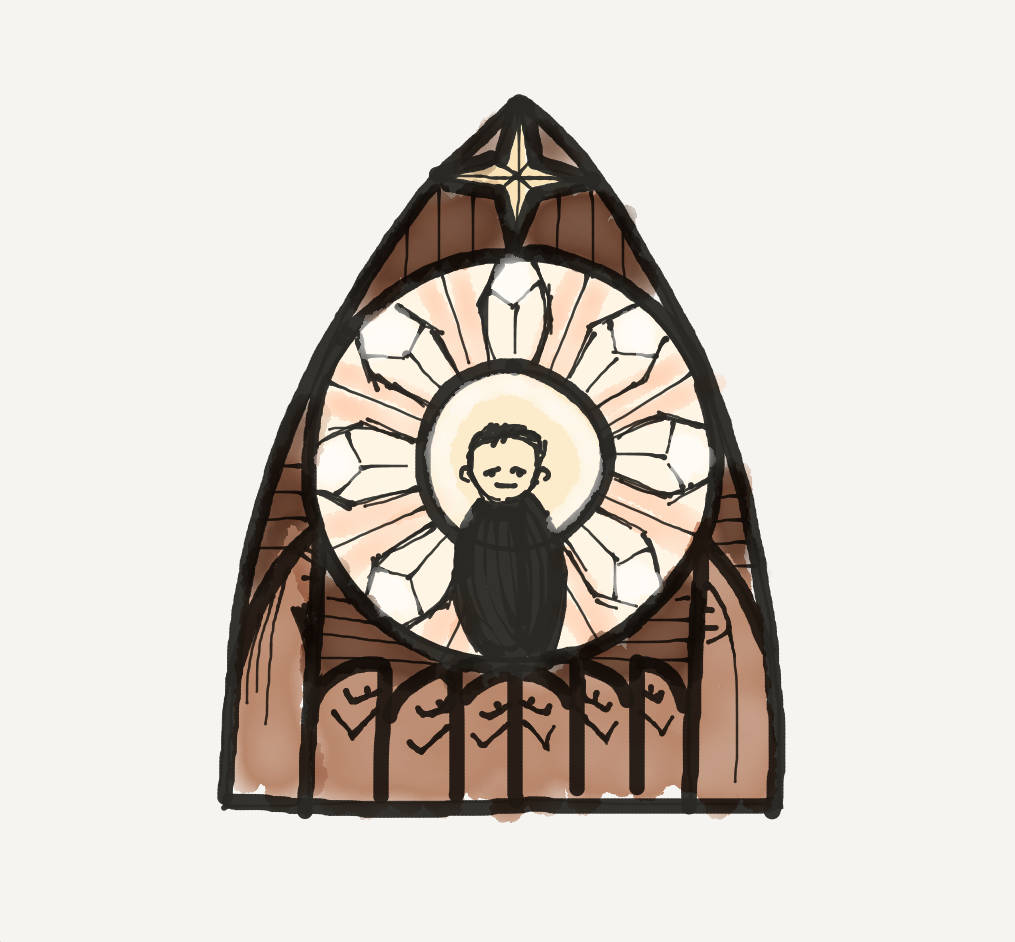
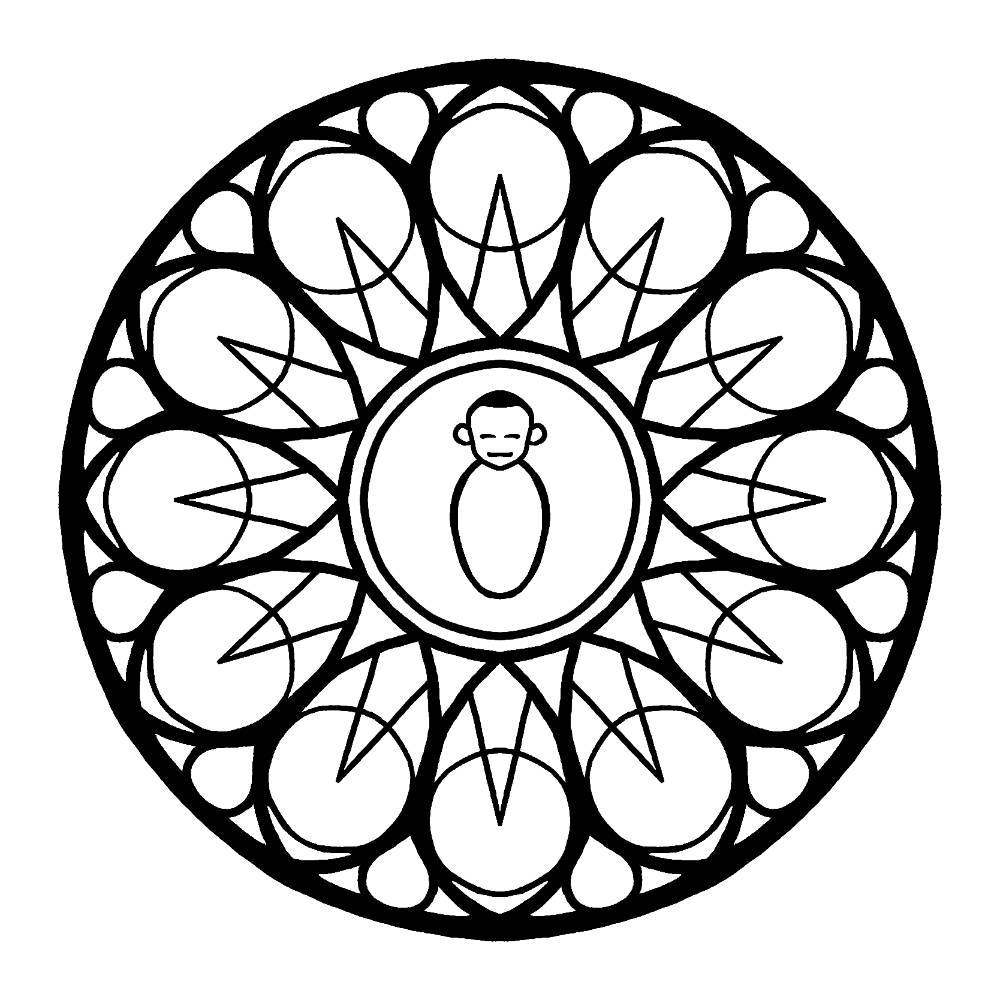
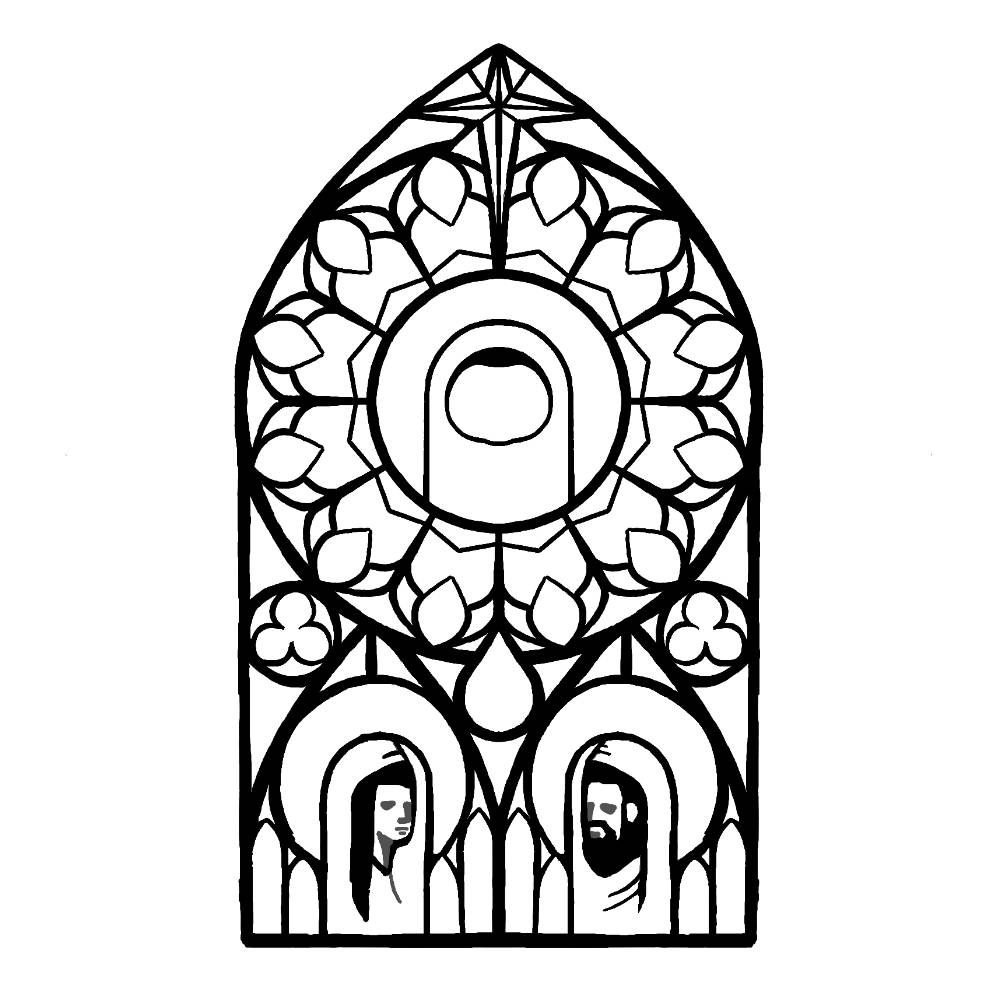
I wasn’t in love with it yet, but it was a foundational start. For the next round of sketches, I busted out this delightful iPad app called Amaziograph that makes mirrored and radial sketching easy. It was the perfect tool for designing gothic stained glass.
Symbolism
As the design progressed, I began to think more deeply about how I wanted to represent the Holy Family. To emphasize the role Mary and Joseph played as pillars, bearing up the heavy weight of the whole miracle of Christ’s birth at great personal cost, I chose to make them literal pillars in the piece. So their designs became simple, straight, and symmetrical with expressions of piety as a representation of the humility with which they accepted their roles in the process.
With the baby Jesus, I sought to represent Him a bit more realistically to put emphasis on the reality of His condescension. In other nativities, He’s often represented as wise, or overly reverent. I wanted Him to appear as a familiar, joyful, active baby, but with an upward gaze and reach that implies a glimmer of recognition for His heavenly parentage. Well, I needed a baby model, so I messaged a close friend of mine:
Me: Any way you can get a picture of [your baby] shirtless reaching upward toward something? I need some reference material for the baby Jesus.
Friend: Haha that is the most random request EVER 😂 Yes I’ll get that for you.
Then take a moment to consider some of the other symbols embedded in the piece. An illuminated lattice of twelve segments surrounding the baby for the quorum of twelve Apostles who carry forth His work to this very day. A sun within that lattice as though it were emanating from Him. A star that was designed to be more cross-like in its shape. And an atoning droplet that links the divine to the mortal.
Construction
In October 2015, I enthusiastically jumped in on the Glowforge crowdfunding campaign. I knew it was the perfect tool for me. Two years later, I got an email that said it was shipping, but still later than I planned (one of the greatest tests of patience my little heart has endured). It arrived on a Monday, and my nativity was due on Thursday morning. Luckily, I had every part designed and ready to cut, but still had to pull an all-nighter to get it done.
The laser cutter can accommodate materials up to 11 × 20 inches, but I wanted the piece to be a bit larger than that, so I had to engineer some clever ways to slice up the pieces. Since the laser is so precise, I was able to slice some already very thin wood segments to make it happen. These were mounted on another layer of wood that had some segments painted black that would show through, and also served as a scaffolding to hold in the 94 colorful translucent plastic pieces through which the light would shine.
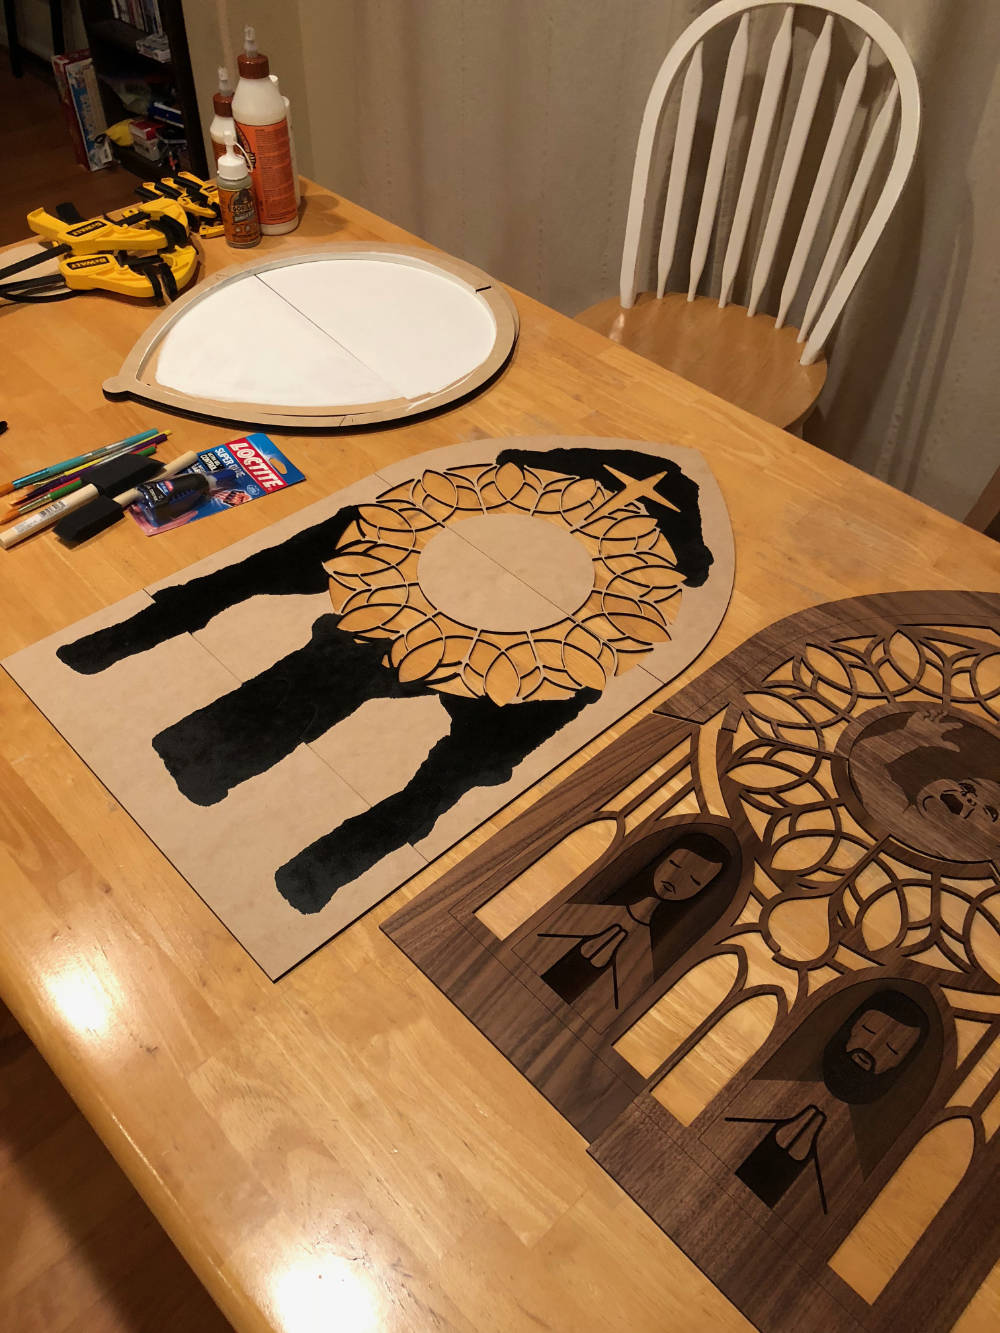
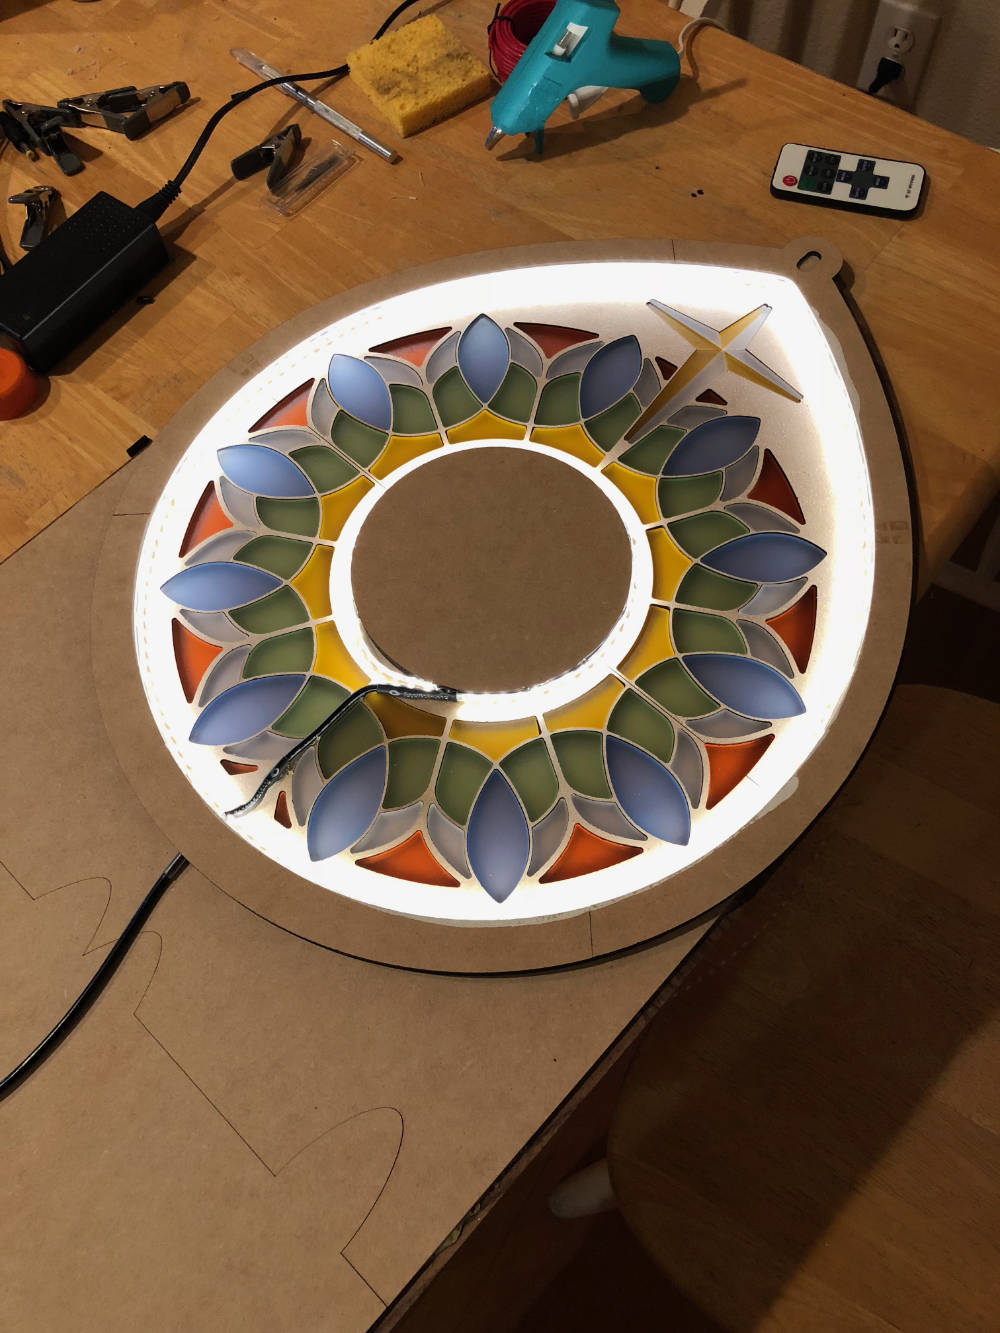
It took some engineering to ensure the backlight effect would be smooth and even. So often with projects that use LED strips, you’ll see evenly spaced hot spots for each diode on the strip. I also wanted to avoid any significant drop off in light intensity so the edges weren’t significantly brighter. First, I invested in some high-density LED strips from Cool Neon called Thin & Brights which pack the diodes closely together. Then I sourced some translucent colored acrylics that would help diffuse the light a bit. I lit it from both the inside and outside edges and contained it all inside a teardrop-shaped light box that was painted white on the inside for some bright reflectivity. I made sure the box was actually a bit deeper than the width of the LED strip and mounted the strip under a bit of a lip against the front panel of the piece so the light would have a bit more space to bounce around. It does still get marginally dimmer toward the center, but it’s quite minimal.

It was exhilarating to carry my own completed work of art into a gallery to get it situated for display. Reading the placard they prepared that began with the words "Artist Andy Griffin" struck me with more impact than I would have expected.
I find something deeply poetic about having used a concentrated beam of light to create a work honoring the world’s singular concentration of light.